
Nothing says gorgeous spring day like a pretty spring pinwheel!? I saw them at a store, and they were $5 for one!? I knew that I could make them myself for a lot cheaper so I’m sharing this Pinwheel Tutorial with you today!

Pinwheel Tutorial
-
craft paper cut into squares (I used scrapbook paper cut into 8×8 and 9×9 squares)
-
a thumb tack to punch holes
-
decorative brads
-
wooden dowels
-
hot glue gun
You can purchase all of these supplies through these affiliate links below.
 |
| First fold in half, and then half again the other way. |
 |
| Then poke a hole in the center. |
 |
|
Then cut from each corner up to 1/2 inch from the center hole.
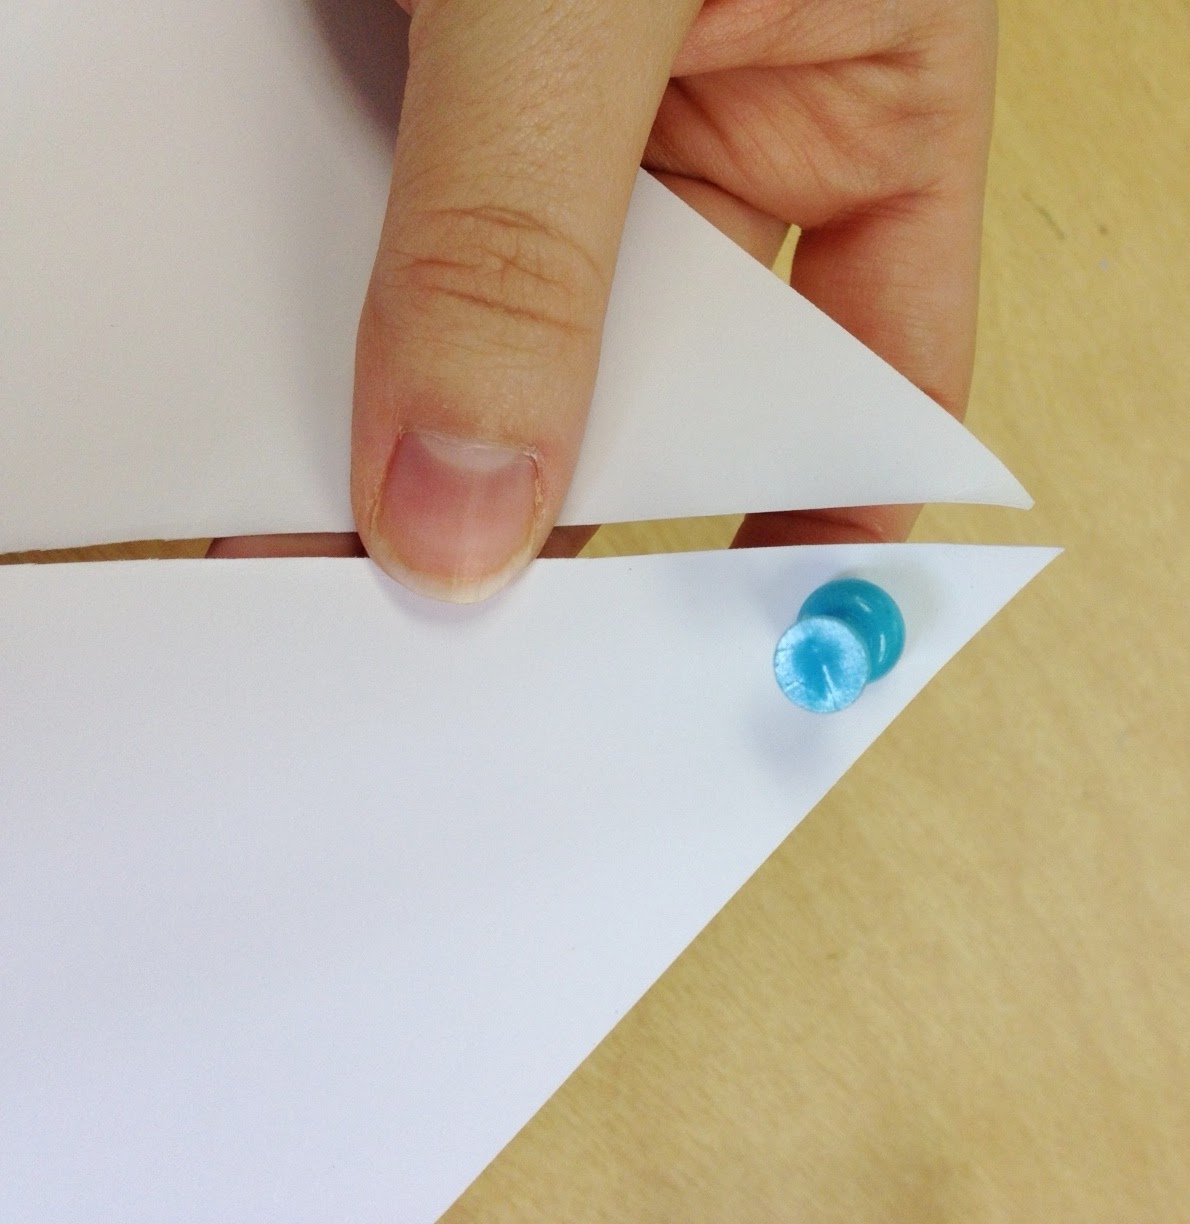 Poke a hole in the RIGHT flap of every corner. So, 4 in all. |
 |
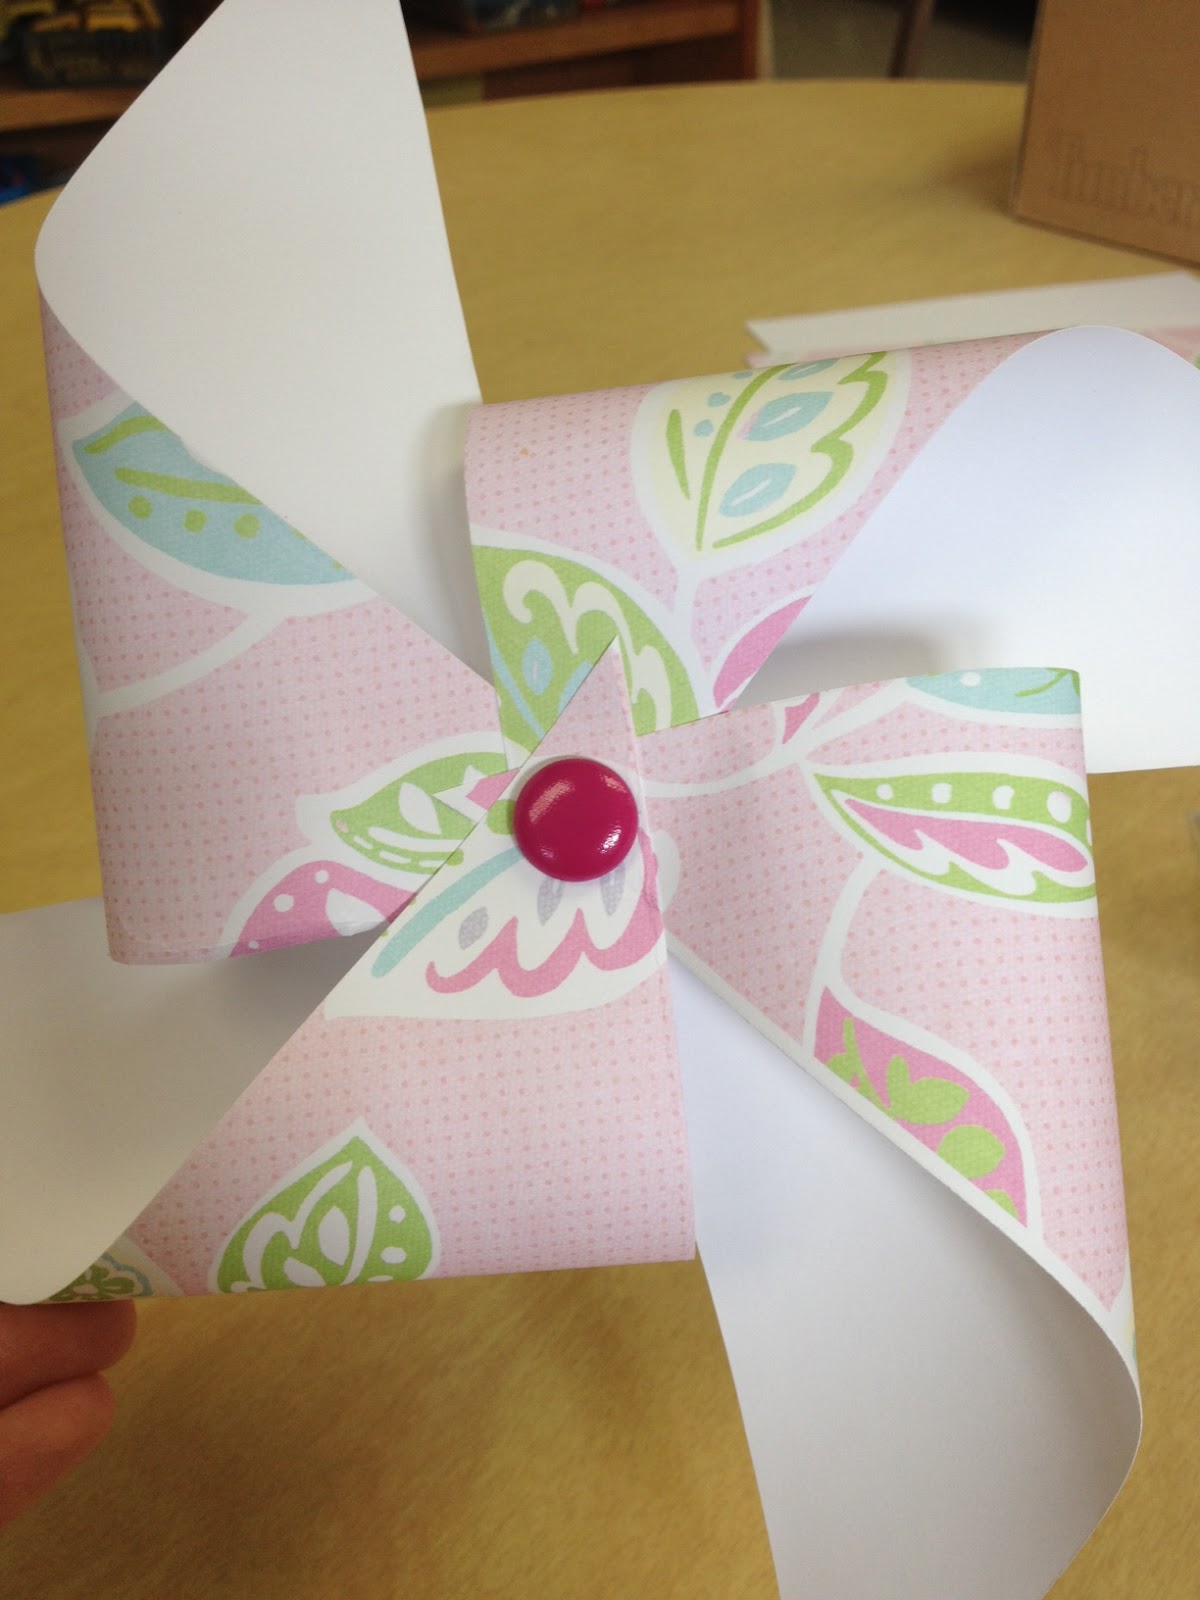
| Place a brad through one corner hole. |
 |
| Then place the other corner holes behind the first.
 Push the brad through the center hole and fasten in the back. 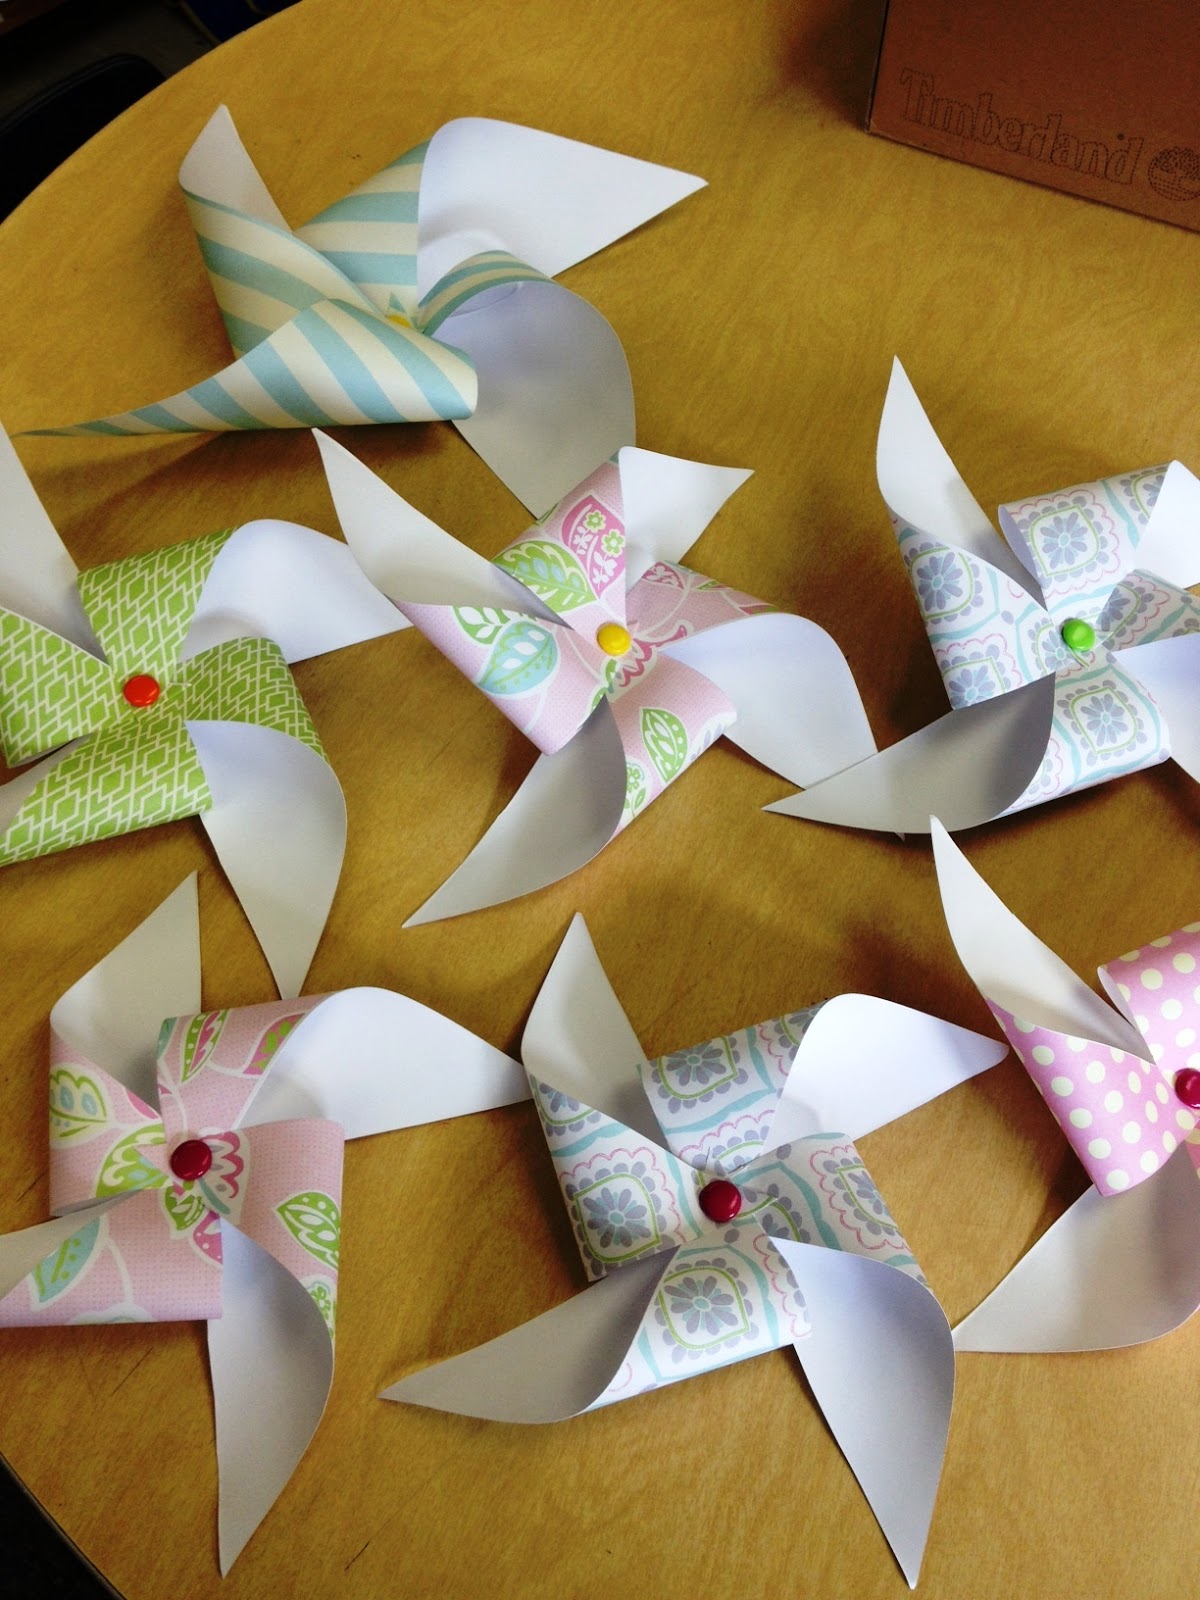 Aren’t they pretty?? 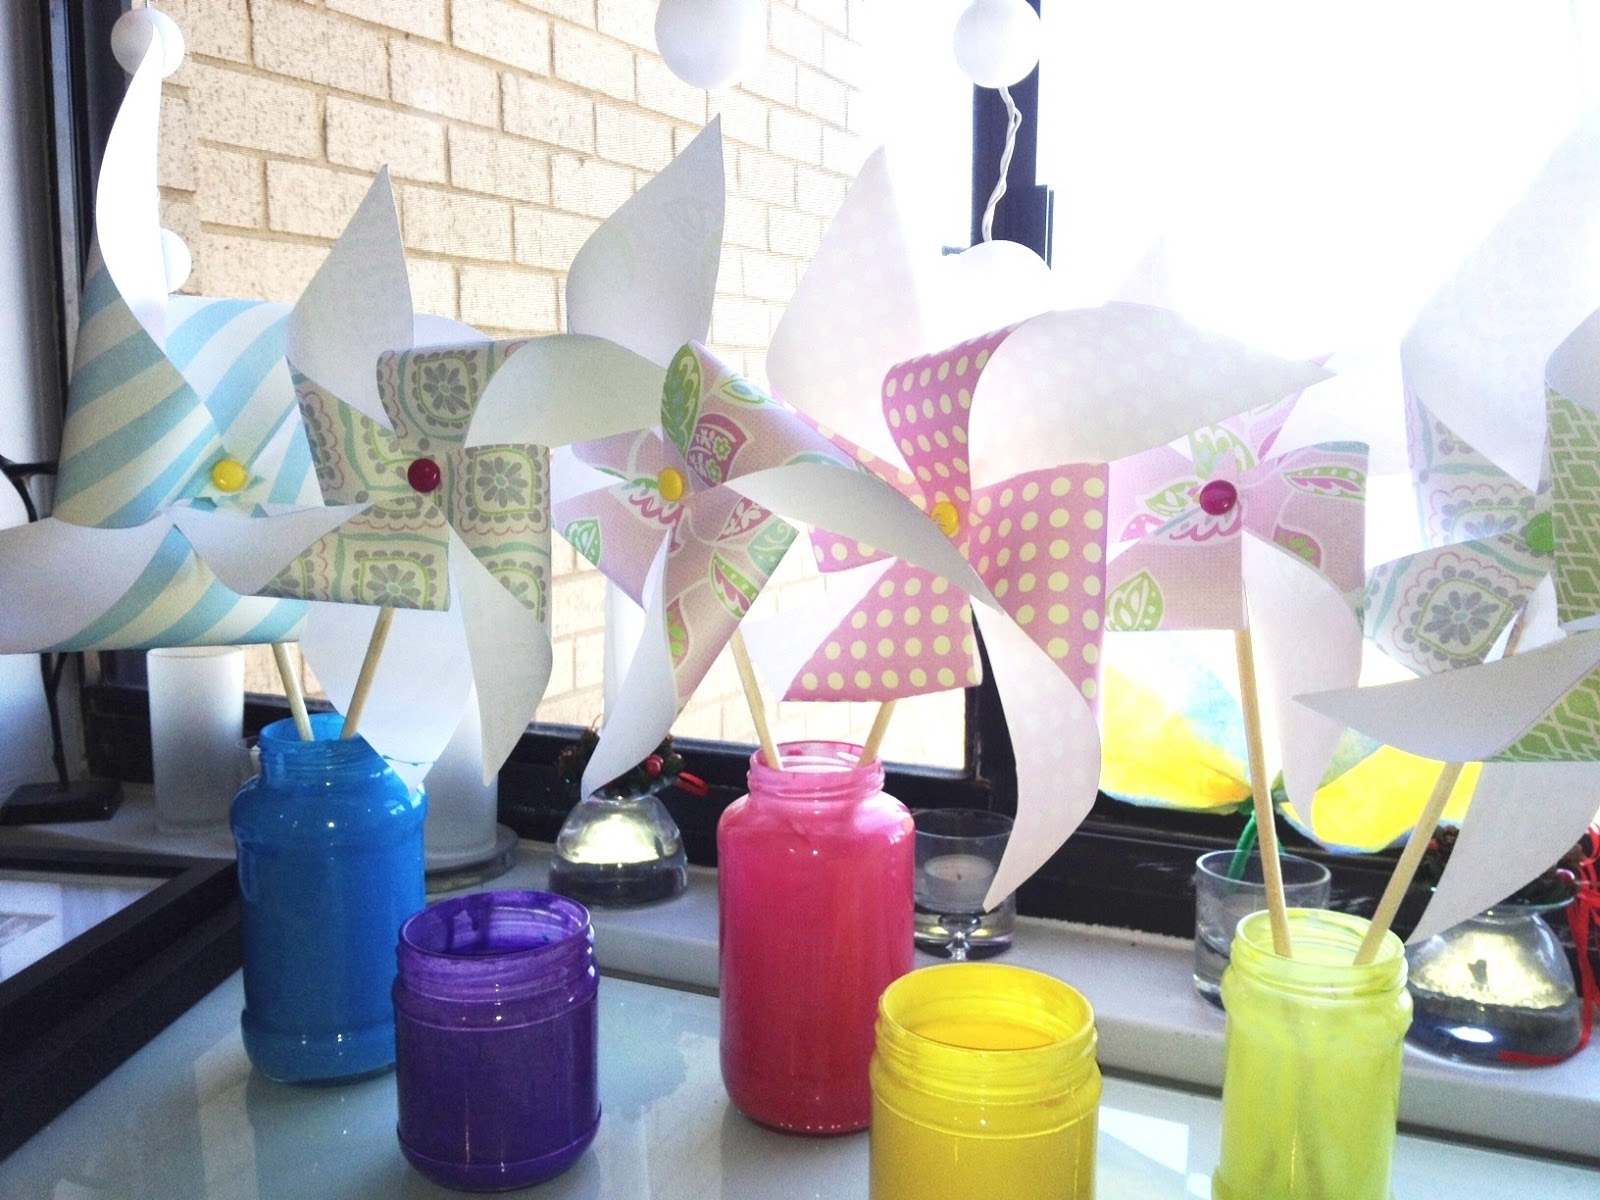 |
Lastly, I hot glued them to a wooden dowel.? In retrospect, I would have liked to make them actually spin!? One of my friends suggested tapping a small finishing nail through the pinwheel, with a bead separating it from the dowel, then gluing a pretty button on top.? I think I will try that next time!
All-in-all, these were really quick and easy to make.? I think I will add one to Simone’s Easter basket, and use the rest for pretty spring decorations!
Happy Crafting!